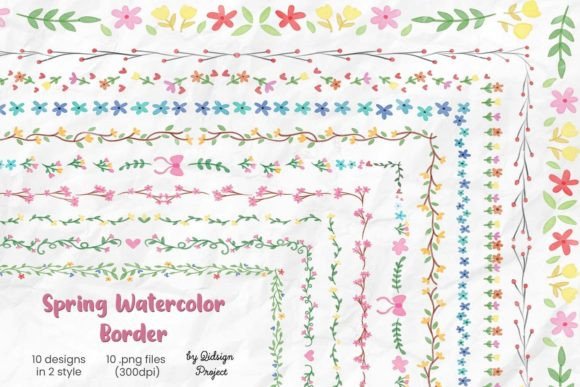
Spring Watercolor Border: A Versatile Decorative Element for Creative Projects
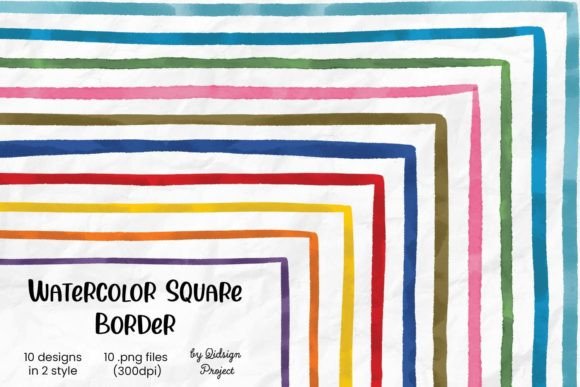
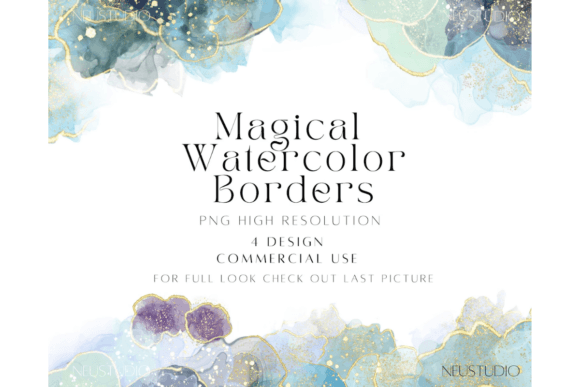
When it comes to designing invitations, cards, or any creative project that requires a personal touch, the right decorative elements can make all the difference. One such element that has gained popularity among scrapbooking enthusiasts, bullet journal artists, and event planners is the Spring Watercolor Border. This elegant design features soft watercolor brush strokes that evoke the gentle hues of springtime — pastel greens, pinks, yellows, and blues that blend seamlessly to create a fresh and inviting aesthetic.
The Spring Watercolor Border is not just a visual enhancement; it's a functional tool that helps organize content while adding an artistic flair. Whether you're working on wedding invitations, baby shower announcements, or even professional brochures, these borders offer a unique way to elevate your designs without overwhelming them. The beauty of this border lies in its subtlety, making it suitable for both minimalist layouts and more elaborate compositions.
Why Choose a Spring Watercolor Border?
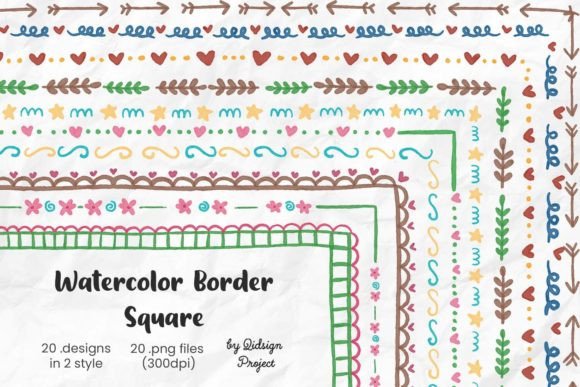
Many creators struggle with finding the perfect balance between style and practicality when designing visual projects. Traditional borders can sometimes appear too rigid or overly detailed, which may clash with the overall look. The Spring Watercolor Border addresses this by offering a delicate, hand-painted appearance that complements a wide range of themes and styles.
With 10 high-quality PNG and JPG files included in the set, users have the flexibility to choose between transparent and white backgrounds. This adaptability ensures the border can be easily integrated into digital or print formats. Each file is created at 300 dpi, providing crisp clarity and professional-grade quality for any use case.
Practical Applications Across Different Uses
Here are some common scenarios where the Spring Watercolor Border can enhance your work:
- Wedding Invitations: Create a romantic and whimsical feel by using the border as a frame around text or images. Its soft colors mimic blooming flowers and fresh foliage, setting a seasonal tone.
- Baby Shower Invitations: Add a cheerful, organic touch that feels warm and welcoming. The watercolor effect gives a handmade quality that resonates with modern parents seeking personalized details.
- Save the Date Cards: Use the border to highlight key information like dates or venue names, making it stand out while maintaining a cohesive theme.
- Brochures and Flyers: Incorporate the border to separate sections or emphasize important visuals, helping guide the viewer’s eye through the layout.
- Business Cards: For those in creative industries, the Spring Watercolor Border adds a professional yet artistic edge to their branding materials.
- Bullet Journal Clipart: These borders serve as excellent page dividers or background elements in bullet journals, especially for pages dedicated to seasonal goals or reflections.
Each of these applications benefits from the border’s ability to unify different design elements while keeping the focus on the content. The rounded rectangle shape (approximately 8.5 inch x 11 inch) also makes it ideal for standard-sized paper templates and printable layouts.
How to Use Spring Watercolor Border Effectively
Whether you're a seasoned designer or just starting out, integrating the Spring Watercolor Border into your work can be simple and effective. Here are a few tips to get the most out of this resource:
- Match the Theme: Consider the overall color scheme of your project. The watercolor effect works best with light and airy palettes, but with careful layering and blending, it can also complement darker or bolder designs.
- Layer Creatively: Combine the border with other watercolor clipart, floral accents, or script fonts to build depth and interest. Layering allows for customization and helps avoid a flat appearance.
- Use It as a Frame: Place the border around key elements like photographs, quotes, or illustrations to draw attention and add structure to your page.
- Experiment with Layouts: Since the border is available in two versions — one with no fill and another with a white fill — you can try different arrangements to see what works best for your design.
For digital designers, the transparent PNG format offers the most versatility. You can place the border over photos, textured backgrounds, or colored gradients without worrying about unwanted edges. On the other hand, the white-filled JPG version is perfect for traditional print jobs where transparency isn’t needed or supported.
Considerations for Different Users
Designers come from various backgrounds and have differing levels of experience, so the approach to using the Spring Watercolor Border may vary. Here’s how different users might incorporate it:
- Beginners: Start by using the border as a simple frame around text or images. Focus on clean layouts to maintain readability while still enjoying the aesthetic benefits.
- Intermediate Designers: Explore combining the border with other elements such as patterned papers, hand-lettering, or stamps to create layered, dimensional looks.
- Professionals: Utilize the border as part of a larger template system, ensuring consistency across multiple design pieces like save the date cards, thank-you notes, and signage.
Additionally, educators and craft bloggers can benefit by using the Spring Watercolor Border in tutorial examples or downloadable resources. Its availability in both PNG and JPG formats means it can be adapted for blog posts, social media graphics, or printable guides.
Enhancing Your Workflow with Ready-to-Use Files
One of the biggest advantages of using pre-made assets like the Spring Watercolor Border is the time they save. Instead of spending hours creating custom borders from scratch, you can instantly apply these high-quality files to your designs. This is particularly useful for those managing multiple projects or working under tight deadlines.
Moreover, having access to both transparent and white background versions ensures compatibility with a wide array of software and printing methods. If you’re using Adobe Photoshop or Illustrator, the transparent PNG will allow for easy resizing and repositioning. For Canva users or those working in PowerPoint, the JPG files provide a seamless experience without requiring advanced editing skills.
It’s also worth noting that the size of the rounded rectangle frame (approx. 8.5 inch x 11 inch) aligns well with standard letter-sized paper, making it convenient for anyone preparing printables or physical documents. Just scale accordingly for smaller formats like business cards or greeting cards.
Examples of Successful Implementations
To give you a clearer idea of how the Spring Watercolor Border can be used, here are a few real-world examples:
- A wedding planner used the border around the couple’s photo in a Save the Date card, paired with handwritten font for the text. The result was a charming, vintage-inspired design that stood out at first glance.
- A scrapbooker incorporated the border into a baby milestone layout, using it to encase each month’s photograph and journaling space. The consistent use of the border helped tie the entire project together.
- An invitation designer added the border behind the main title of a garden-themed birthday flyer, giving it a natural, organic feel that matched the event's ambiance perfectly.
These examples demonstrate the border’s adaptability and how it can help achieve specific visual goals depending on the context. With thoughtful placement and complementary design choices, the Spring Watercolor Border becomes more than just a decorative element — it becomes a core component of your layout.
Getting Started with Your Spring Watercolor Border
If you’re ready to start using the Spring Watercolor Border in your next project, consider the following steps:
- Determine the purpose of your design — whether it's for a personal scrapbook, a business brochure, or an event invitation.
- Select the appropriate file format based on your intended output. Transparent PNGs are ideal for digital use, while JPGs with white backgrounds suit print projects.
- Import the border into your design software and experiment with positioning it around key elements. Adjust the opacity if needed to ensure it doesn’t overpower the rest of the design.
- Pair the border with related watercolor elements such as florals, leaves, or butterflies to create a harmonious composition.
- Print or share your final product, confident in the professional and polished look achieved through this versatile asset.
By taking these steps, you’ll be able to integrate the Spring Watercolor Border smoothly into your workflow and enjoy the results immediately.
Final Thoughts
The Spring Watercolor Border is more than just a pretty frame — it’s a strategic design element that enhances the visual appeal and organization of your creative projects. Whether you're looking to add a subtle touch of springtime elegance or transform a plain layout into something memorable, this resource offers the tools you need to succeed.
Its high-resolution files, flexible formats, and thematic relevance make it an invaluable addition to any designer’s toolkit. So why wait? Bring the charm of spring into your next project with the Spring Watercolor Border and let your creativity bloom.